In previous post, I talked about Design for Manufacturing (DFM) and how I have always tried to implement its principles in my work. To explain DFM practically and personally, I’ll walk you through a project I worked on during my previous job in a Urban furniture manufacturing company based in Italy.
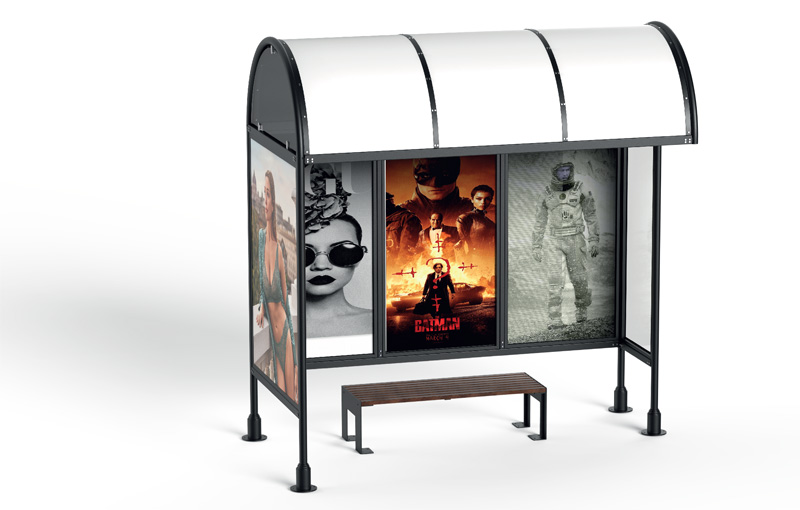
The mission was to design a bus stop for the municipality of a small island city in Italy — Isola d’Elba. The client gave us a photo of a similar bus stop as a reference. They wanted something similar but more aesthetically pleasing and structurally more robust, considering the area experiences wind speeds up to 47 km/h.
Step 1: Rapid Sketching and Visualization
The design process started with rapid sketches in Rhino 3D. Within a day, I created multiple concept designs and quick renderings to communicate the initial idea. Once the client approved the direction, I moved immediately to the design-for-manufacturing phase.
Step 2: Designing for Manufacturing (DFM in Action)
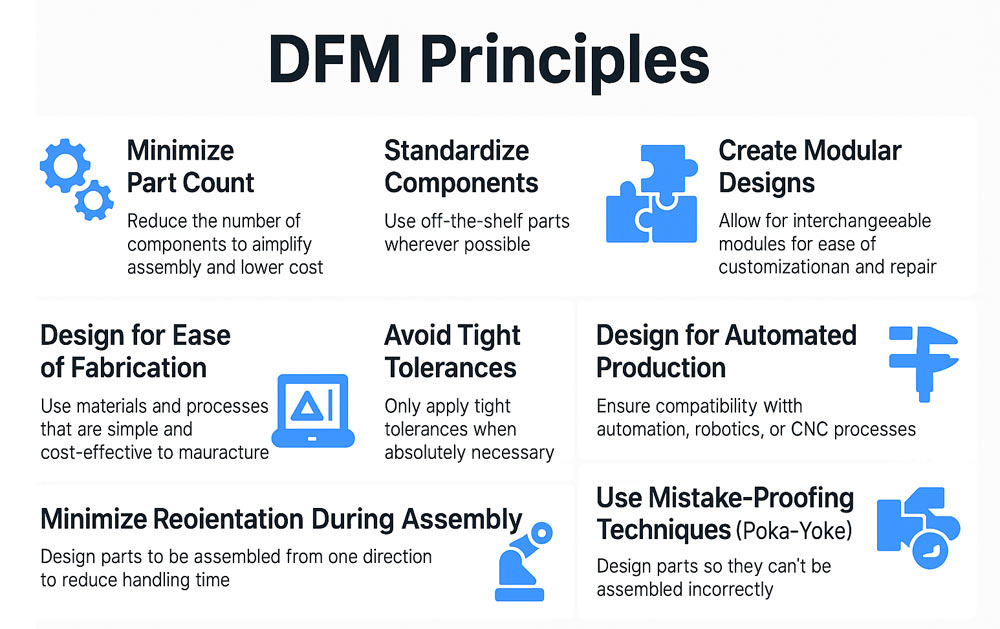
To ensure success, I followed a structured DFM workflow. Here are the DFM steps, illustrated through this real-world case:
1. Understand Design Constraints
- Environmental factors: wind up to 47 km/h, coastal humidity (parts should be galvanized before painting)
- Transportation to the island: needed to be modular and shippable (use more screw joints than weldment)
- Client expectation: something durable, elegant, and unique
2. Select Practical Materials
I chose materials that were:
- Available in our workshop or easy to source
- Resistant to environmental factors
- Compatible with our existing manufacturing equipment
Used Materials:
- Dibond (aluminum composite) for the roof: lightweight and rustproof
- Carbonic iron S235JR for the structure: strong and weldable
- 8 mm double-glazed safety glass for lateral panels
- Plexiglass for the decorative half-moon top
3. Simplify and Standardize the Design
- I reduced the part count and ensured all components could be cut, bent, or welded using our machines.
- I avoided custom parts where possible and used standard screws (M6, M8).
- The entire structure was broken into modular assemblies that could be quickly reassembled onsite.
4. Design for Assembly and Transport
- I designed the shelter to be fully disassembled.
- All parts were shaped and labeled for flat-packing on standard pallets.
- Assembly was easy thanks to standardized hole patterns and intuitive fasteners.
The design had 27 unique components, ranging from support beams to fasteners.
5. Use Manufacturing-Friendly Processes
Processes used:
- Laser cutting: for high-precision metal panels and holes
- Sheet metal bending: for joints, corners, and roof framing
- Threading & drilling: for quick bolt-on assemblies
- Welding: only where permanent strength was needed
- Powder coating: for aesthetics and corrosion protection
6. Consider Tolerances and Fastening
- I allowed generous tolerances where misalignment could occur.
- I applied GD&T to critical joints, especially for the glass frames.
- All joints were reinforced with brackets or threaded inserts.
7. Review and Iterate
- After finalizing the CAD model in Rhino and SolidWorks, I shared the drawings with our shop floor team.
- Their feedback led to improvements in joint design and bolt access.
- We also validated the structural design through basic load assumptions (though not with FEA at that stage).
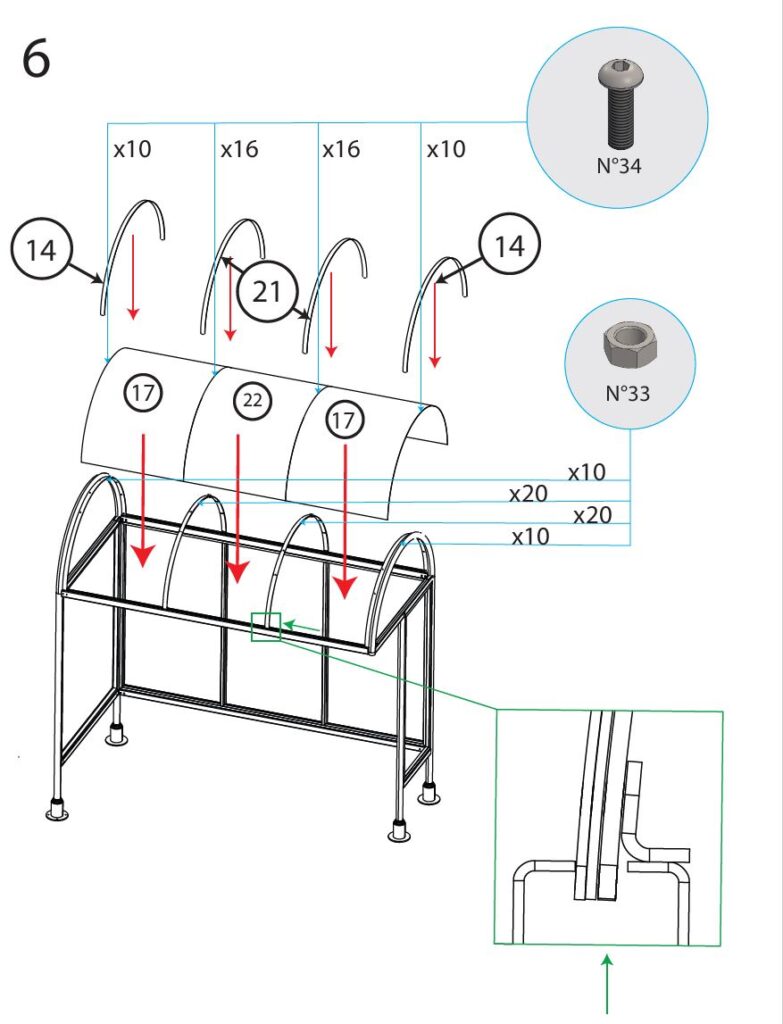
8. Prepare Documentation & Assembly Instructions
- The Bill of Materials was detailed and categorized (finished, semi-finished, fasteners).
- A comprehensive assembly manual was created.
Real-World Impact
- Production: Completed ahead of schedule
- Installation: Finished in 2 hours on Isola d’Elba
- Client feedback: Very positive, especially on visual appeal and perceived strength
This project reinforced how a structured DFM approach leads to better design outcomes.
What I’d Improve Today
With more tools and experience now, I would:
- Run FEA simulations in ANSYS for wind resistance validation
- Incorporate Design for Procurement (DFP) to optimize sourcing
- Explore circular design aspects for sustainability
Final Thoughts
DFM isn’t just a buzzword — it’s a practical framework that improves product quality, manufacturability, and user satisfaction. Whether you’re designing a simple bracket or a complex public infrastructure like a bus stop, following the DFM steps ensures you can turn good ideas into manufacturable realities.
References